Easy Chocolate Ice Cream: Rich, Creamy & No Maker Needed!
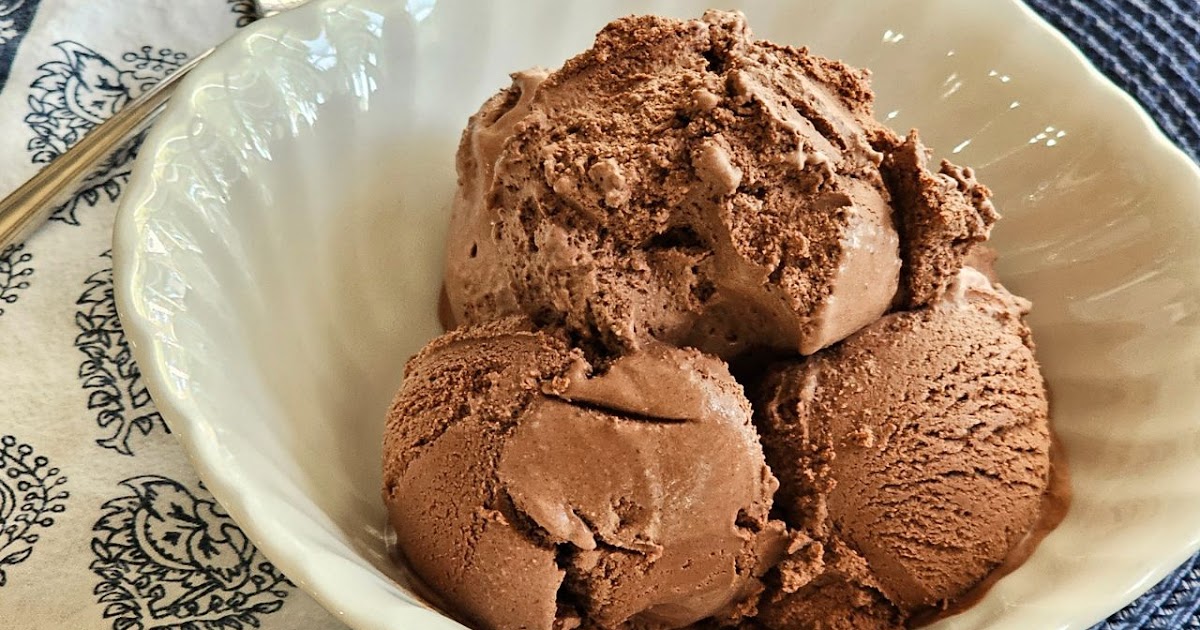
Imagine a scoop of intensely chocolatey, velvety smooth ice cream, melting slowly on your tongue. Now imagine making it yourself, right in your kitchen, without the need for any fancy equipment like an ice cream maker. Sounds like a dream? It’s not! This guide will show you how to craft the most divine homemade
chocolate ice cream – rich, incredibly creamy, and surprisingly simple to prepare. Forget store-bought versions; once you taste this, you’ll never look back.
Why Homemade Chocolate Ice Cream Reigns Supreme
There's something uniquely satisfying about homemade treats, and ice cream is no exception. While the convenience of pre-packaged pints is undeniable, nothing quite compares to the depth of flavor and luscious texture of a batch made from scratch. Our recipe for
chocolate ice cream isn't just "good"; it’s *exceptional*. It rivals, and arguably surpasses, what you’d find at your favorite ice cream parlor, delivering a truly rich chocolate experience that’s often missing from commercial varieties.
The process of making it yourself is an enjoyable culinary adventure. It allows you to control the quality of ingredients, ensuring no artificial flavors or preservatives sneak in. Plus, the sheer joy of watching high-quality cream and chocolate transform into an indulgent frozen dessert is a reward in itself. This particular recipe stands out because it leverages two forms of chocolate and essential ingredients like egg yolks to create an ultra-creamy base that sets beautifully even without churning. It's a fun project that culminates in a dessert that's perfect for a hot summer day, a cozy night in, or as a decadent accompaniment to your favorite chocolate cake or a giant cookie.
The Magic Behind the Creaminess: Key Ingredients Revealed
The secret to an incredibly rich and irresistibly creamy
chocolate ice cream lies in a handful of high-quality ingredients, each playing a crucial role. This recipe uses a traditional custard base, which forms the backbone of its luxurious texture and deep flavor.
*
Heavy Cream: This is the superstar for creaminess. There’s truly no adequate substitute if you want that ultra-smooth, dense texture. Heavy cream provides the high-fat content necessary to prevent ice crystals from forming, especially in a no-churn method. Using heavy whipping cream is ideal for the best results.
*
Cocoa Powder: For an intense chocolate flavor. If you're a fan of dark chocolate, opt for dark cocoa powder to deepen the richness and complexity. This also contributes to the beautiful dark color of your ice cream.
*
Semisweet Chocolate: The second form of chocolate! Using 60% dark chocolate chips or a chopped bar adds another layer of chocolatey depth and a smooth, melt-in-your-mouth quality. The darker the chocolate, the more intense the flavor. If you prefer a sweeter profile, a milk chocolate can be used, but be mindful it will increase the overall sweetness of the ice cream.
*
Whole Milk: Whole milk contributes to the overall richness and creamy consistency. While half-and-half is an acceptable substitute, using lower-fat milk (like 2%) or non-dairy alternatives (almond or oat milk) may result in a slightly less creamy, potentially icier texture.
*
Granulated Sugar: Essential for sweetness and also helps in the texture by lowering the freezing point, contributing to a softer scoop. Organic cane sugar or regular white sugar works perfectly.
*
Egg Yolks: A critical, often overlooked ingredient that delivers unparalleled creaminess. Egg yolks emulsify the mixture, creating a rich custard that is vital for achieving that smooth, dense texture characteristic of premium ice cream. Do not skip them! For a deeper dive into how these ingredients work together, you might want to explore
Two Chocolates & Egg Yolks: Secret to Rich, Creamy Ice Cream.
*
Vanilla Extract: A touch of vanilla enhances and brightens the chocolate flavor without overpowering it. For an even more luxurious touch, consider using vanilla bean paste or the seeds from a fresh vanilla bean.
Mastering the No-Churn Method: Step-by-Step Perfection
While this recipe outlines steps to create a rich custard base typically associated with churned ice cream, we'll adapt it for a fantastic no-maker experience. The key is careful preparation and patience.
1.
Crafting the Chocolate Base:
* In a saucepan, whisk together about half of your heavy cream and the cocoa powder until smooth. This prevents lumps.
* Bring the mixture to a boil over medium heat, then immediately reduce heat and simmer for about 30 seconds, whisking constantly. This helps to "bloom" the cocoa powder, intensifying its flavor.
* Remove from heat and stir in your chopped semisweet chocolate until it's completely melted and smooth. The residual heat will melt it beautifully.
* Whisk in the remaining heavy cream. This cools the mixture slightly.
* Pour this chocolate mixture into a large bowl and set a fine mesh strainer over it. This strainer will be crucial later. A nut milk bag or even a clean tea towel can also work.
2.
Making the Custard Component:
* In a separate medium bowl, whisk your egg yolks until pale and slightly thickened.
* In a clean saucepan, combine the whole milk, granulated sugar, and a pinch of sea salt. Heat over medium heat, stirring, until the sugar dissolves and the milk is warm (not hot).
*
Temper the Eggs: This is a crucial step to prevent the egg yolks from scrambling. Slowly ladle about ½ cup of the warm milk mixture into the beaten egg yolks, whisking continuously. This gradually raises the temperature of the yolks.
* Now, slowly pour the egg yolk mixture back into the saucepan with the remaining warm milk, whisking constantly.
* Continue to cook the custard over medium-low heat, stirring constantly with a spatula or wooden spoon, until it thickens enough to coat the back of the spoon (around 170-175°F / 77-79°C). Do not let it boil!
* Immediately remove the custard from the heat and pour it through the fine mesh strainer into the chocolate base you prepared earlier. This ensures a silky-smooth custard by catching any bits of cooked egg.
* Whisk the two mixtures together until fully combined.
3.
Chilling and Freezing for No-Churn Magic:
* Cover the combined chocolate custard base with plastic wrap, pressing it directly onto the surface to prevent a skin from forming.
* Refrigerate for at least 4-6 hours, or ideally overnight, until thoroughly chilled. This step is non-negotiable for flavor development and proper setting.
*
For the No-Churn Adaptation: Once the base is perfectly chilled, whip an additional 1 to 1.5 cups of cold heavy cream in a separate bowl until it forms soft to medium peaks. Gently fold the chilled chocolate custard into the whipped cream until just combined. This aeration is what gives you that light, creamy texture without an ice cream maker.
* Pour the mixture into a freezer-safe container (a loaf pan works well, or a shallow metal pan).
* Cover tightly with plastic wrap and aluminum foil to prevent freezer burn.
* Freeze for a minimum of 6-8 hours, or preferably overnight, until firm. For a truly professional finish and an even more detailed walkthrough on achieving this perfection, check out
Unlock Ultra-Creamy Homemade Chocolate Ice Cream Perfection.
Tips for the Ultimate Chocolate Ice Cream Experience
Making homemade
chocolate ice cream is a rewarding process, and a few expert tips can elevate your dessert from great to extraordinary.
*
Quality Ingredients Matter: Since there are so few ingredients, the quality of each really shines through. Use good quality cocoa powder and chocolate for the best flavor.
*
Don't Rush the Chill: A thoroughly chilled base is crucial for achieving the perfect texture. If it's not cold enough, your ice cream may turn out icy.
*
For Extra Richness (Churning Optional): If you *do* have an ice cream maker, you can churn the thoroughly chilled custard base (without the additional whipped cream) according to your machine's instructions after the chilling step. This will produce a denser, more traditional ice cream texture. However, the no-churn method described above yields fantastic results.
*
Serving Suggestions: This rich
chocolate ice cream is spectacular on its own, but it also pairs wonderfully with a myriad of desserts. Scoop it over a warm brownie, alongside a slice of apple pie, or with fresh berries. A sprinkle of sea salt or chocolate shavings can enhance the experience.
*
Storage: Store your homemade ice cream in an airtight container in the coldest part of your freezer. It’s best enjoyed within 1-2 weeks for optimal freshness and texture. Over time, homemade ice cream can become a bit icier than commercial varieties due to the lack of stabilizers.
*
Flavor Variations:
*
Espresso Chocolate: Add 1-2 teaspoons of instant espresso powder to the milk mixture to deepen the chocolate flavor.
*
Mint Chocolate Chip: Stir in a few drops of peppermint extract and some finely chopped mint chocolate after the base has chilled.
*
Nutty Delight: Fold in toasted chopped pecans, walnuts, or almonds just before freezing.
With these tips and the detailed steps, you’re well on your way to creating a stunning homemade
chocolate ice cream that will impress everyone.
Creating this easy, rich, and creamy
chocolate ice cream without an ice cream maker is not just possible, it's a delightful culinary achievement. By understanding the role of each key ingredient and following the steps for making a luscious custard base and adapting it for a no-churn freeze, you unlock a world of homemade dessert possibilities. So, grab your ingredients, prepare for a little patience, and get ready to indulge in the best chocolate ice cream you’ve ever tasted!