Why Homemade Chocolate Ice Cream Reigns Supreme
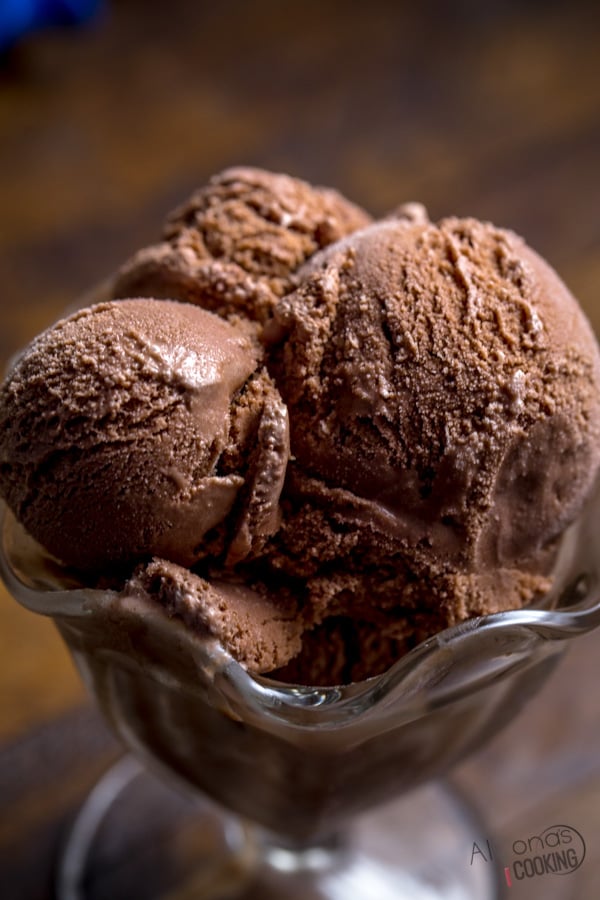
Forget the supermarket tubs and even your favorite scoop shop – nothing truly compares to the sheer indulgence of homemade chocolate ice cream. The process itself is a labor of love, but the reward is an unparalleled creamy texture and a depth of chocolate flavor that you simply can't achieve with mass-produced options. Imagine a scoop that melts slowly on your tongue, revealing layers of rich cocoa and smooth, sweet cream. That’s the magic we’re talking about.
Making ice cream at home gives you complete control over the ingredients, allowing you to tailor the sweetness, chocolate intensity, and even the type of chocolate to your exact preferences. It’s a fun, delicious project that culminates in a dessert far superior to anything you can buy, perfect for a special occasion or simply to satisfy that deep, insistent chocolate craving.
The Secret Weapons for Unrivaled Creaminess and Flavor
Achieving truly exceptional chocolate ice cream isn't just about mixing ingredients; it's about understanding the synergy between them. Our secret lies in a meticulous selection of components that work together to create that coveted rich, creamy texture and intense chocolate punch.
The Dynamic Duo of Chocolate
The foundation of any great chocolate ice cream is, naturally, the chocolate itself. But instead of relying on just one form, we harness the power of two: cocoa powder and solid chocolate. This combination is critical for a multifaceted chocolate experience:
- Cocoa Powder: This provides the deep, earthy, and sometimes slightly bitter notes that give chocolate its backbone. When bloomed (heated with liquid), the cocoa solids release their full flavor potential, ensuring an intense chocolate base. For a classic, balanced flavor, use good quality natural cocoa powder. If you're a fan of super dark, almost black chocolate ice cream, opting for Dutch-processed or even black cocoa powder will deliver that dramatic intensity.
- Semisweet (or Dark) Chocolate: Adding solid chocolate, like 60% dark chocolate chips or a chopped bar, contributes richness, a smoother mouthfeel, and a more complex, nuanced chocolate profile. While cocoa powder delivers intensity, solid chocolate brings the luxurious melt and additional cocoa butter, which enhances creaminess. The darker the chocolate, the more profound the flavor; milk chocolate will, naturally, yield a sweeter result.
The Unsung Hero: Egg Yolks
Often overlooked by beginners, egg yolks are truly a game-changer for homemade chocolate ice cream. They are the secret to that impossibly rich, custard-like texture that distinguishes gourmet ice cream from its simpler counterparts. Here’s why they’re indispensable:
- Emulsification: Egg yolks contain lecithin, a powerful emulsifier. This helps to bind the water and fat in the ice cream base, creating a smoother, more stable mixture that’s less prone to forming large ice crystals.
- Thickening: When gently heated, egg yolks thicken the base into a luscious custard. This added body contributes significantly to the creamy mouthfeel, making the ice cream feel incredibly rich and luxurious.
- Preventing Ice Crystals: By adding solids and emulsifying the fat, egg yolks dramatically reduce the formation of icy shards, ensuring your ice cream remains perfectly smooth and scoopable straight from the freezer. Don't even think about leaving them out!
Dairy: The Foundation of Indulgence
No discussion of creamy ice cream is complete without highlighting the crucial role of dairy:
- Heavy Cream: This is non-negotiable for ultra-creamy ice cream. Its high-fat content (typically 36-40%) is essential for creating that luxurious, dense texture. There's simply no adequate substitute if you're aiming for top-tier creaminess. Heavy whipping cream works best for optimal results.
- Whole Milk: Whole milk complements the heavy cream by providing additional liquid and a balanced dairy flavor. While 2% milk can be used in a pinch, it will result in a slightly less creamy product. Substitutions like half-and-half can also work, maintaining a good balance of fat, but for the absolute best chocolate ice cream experience, stick with whole milk.
Mastering the Method: Step-by-Step to Perfection
While the ingredients are key, the technique ensures every component plays its part perfectly. Making this gourmet chocolate ice cream involves a few critical steps, but each one is straightforward and contributes immensely to the final, mouth-watering result.
Crafting the Chocolate Base
- Bloom the Cocoa: Start by whisking heavy cream and cocoa powder together in a saucepan. Bring this mixture to a gentle boil, then reduce the heat and simmer for about 30 seconds, whisking constantly. This step "blooms" the cocoa, intensifying its flavor and ensuring it fully dissolves for a smooth base.
- Melt the Chocolate: Remove the pan from the heat and immediately add your chopped semisweet or dark chocolate. Whisk continuously until the chocolate is completely melted and the mixture is silky smooth. This incorporates the second layer of chocolate flavor and adds a beautiful gloss.
- Combine and Cool: Add the remaining heavy cream to the chocolate mixture and whisk to combine. Transfer this rich chocolate base to a large bowl. Position a fine-mesh strainer over this bowl – it's crucial for the next step.
Tempering the Custard
This is where the egg yolks come into play, forming a classic French-style custard that makes your ice cream exceptionally creamy. Tempering is essential to prevent the eggs from scrambling:
- Prepare Egg Yolks: In a medium bowl, whisk your egg yolks until light and slightly frothy.
- Heat Milk and Sugar: In a separate saucepan, whisk together whole milk, granulated sugar, and a pinch of sea salt over medium heat. Warm the mixture until the sugar dissolves and it's slightly warm to the touch, but not simmering.
- Temper the Eggs: Slowly ladle about ½ cup of the warm (not hot!) milk mixture into the beaten egg yolks, whisking constantly. This gradually raises the temperature of the yolks without cooking them.
- Return to Pan: Pour the tempered egg yolk mixture back into the saucepan with the remaining warm milk, whisking continuously.
- Cook Custard: Continue to cook over medium-low heat, stirring constantly with a spatula, until the custard thickens enough to coat the back of a spoon (reaching about 170-175°F / 77-80°C). Do not boil!
- Strain for Smoothness: Immediately pour the hot custard through the fine-mesh strainer positioned over your chocolate base. This step removes any tiny bits of cooked egg or undissolved cocoa, ensuring an incredibly smooth final product. Whisk the strained custard into the chocolate base until fully combined.
Churning and Freezing for Ultimate Enjoyment
Once your complete ice cream base is made, patience is a virtue:
- Chill Thoroughly: Cover the bowl with plastic wrap, pressing it directly onto the surface of the base to prevent a skin from forming. Refrigerate for at least 4-6 hours, or preferably overnight, until the base is thoroughly chilled. This is critical for churning success.
- Churn: Pour the chilled base into your pre-chilled ice cream maker according to the manufacturer's instructions. Churn until the mixture reaches the consistency of soft-serve ice cream.
- Freeze to Harden: Transfer the soft ice cream to an airtight container. Press plastic wrap directly onto the surface to minimize ice crystal formation and freeze for at least 4-6 hours, or until firm.
Expert Tips for Your Best Batch Ever
Elevate your homemade chocolate ice cream from great to absolutely unforgettable with these additional insights:
- Ingredient Quality Matters: Since there are so few ingredients, the quality of each really shines through. Use high-quality cocoa powder, good vanilla extract (or even vanilla bean paste for an extra touch), and fresh eggs.
- Don't Rush the Chill: An adequately chilled base is paramount. If it's not cold enough, your ice cream maker will struggle to churn it properly, leading to a less creamy result.
- Pre-chill Everything: Beyond the base, ensure your ice cream maker bowl is frozen solid (usually 24 hours in advance) and even chill your serving container before scooping the soft ice cream into it.
- Proper Storage: Store your homemade ice cream in an airtight container with minimal headspace. Placing a piece of parchment paper or plastic wrap directly on the surface before sealing can further prevent freezer burn and ice crystals. It’s best enjoyed within 1-2 weeks.
- Serving Suggestions: While this rich, creamy chocolate ice cream is divine on its own, consider serving it alongside a warm brownie, a slice of your favorite chocolate cake, or even a giant cookie cake. A sprinkle of sea salt or a drizzle of homemade hot fudge can take it to the next level.
- Customization: Feel free to experiment with flavorings! A dash of espresso powder can deepen the chocolate flavor without making it taste like coffee. A pinch of cayenne pepper can add a subtle, intriguing heat. For those without an ice cream maker, you can still enjoy a delicious version of this treat. While not quite the same texture, you can explore recipes like those found in Easy Chocolate Ice Cream: Rich, Creamy & No Maker Needed!
Armed with these secrets – the double chocolate, the essential egg yolks, and a methodical approach – you are now ready to create the most decadent, rich, and ultra-creamy chocolate ice cream you've ever tasted. Prepare for rave reviews and a new go-to dessert that will quickly become a family favorite.
